Whether you like it or not, the distressed paint look is still as popular as ever. However, shabby chic or the distressed look is moving away from the aged white and wood look, and instead we’re looking to brighter and bolder ways with colour in our homes.
The key to any distressing is to make it look as genuine as possible. By focussing on the areas that will naturally get brushed and worn away by years of wear and tear you will make it look really distressed.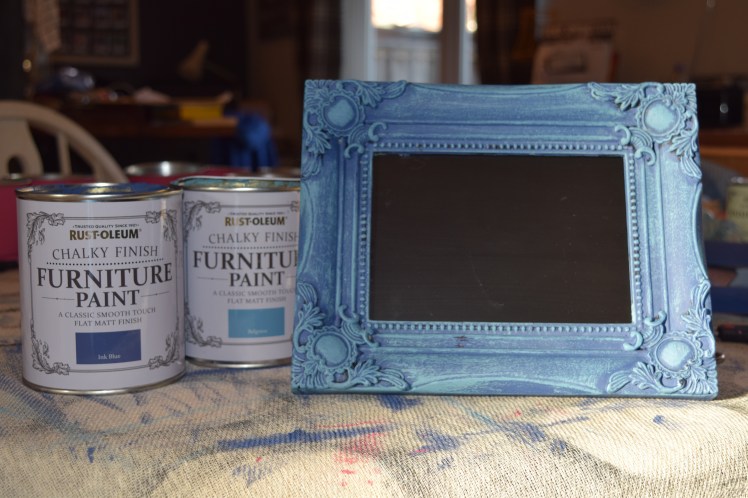
There are several ways you can distress your furniture too, whether you want to reveal the wood or a different colour underneath you can use any of the following: –
Sandpaper – once you’re happy with your top colour you can use a fine sandpaper* to reveal the wood underneath or a contrasting paint colour. Make sure you clean the paint dust from the piece before you seal the paint with wax or lacquer.
*Handy tip (read useless info): the number on the back of your sandpaper refers to how many grains of sand per square inch it has. So the higher the number the finer the paper will be.
Wet distress – use a wet sponge or cloth and run over the same areas. As chalk paints are all very porous they wipe way with a wet cloth quite easily. With this technique there will be no paint dust to clean away or get your home messy. One dry you will still need to finish with lacquer or furniture wax.
Dry Brushing – this work in the opposite way to sandpaper, with this technique you brush the distressed colour over the top with a really dry brush. I thought I’d show you this technique with a picture frame but you can use the same method for any furniture. Picture frames are good to practice on though. This particular frame is actually plastic and was £2 from B&M stores!
What you’ll need for this look: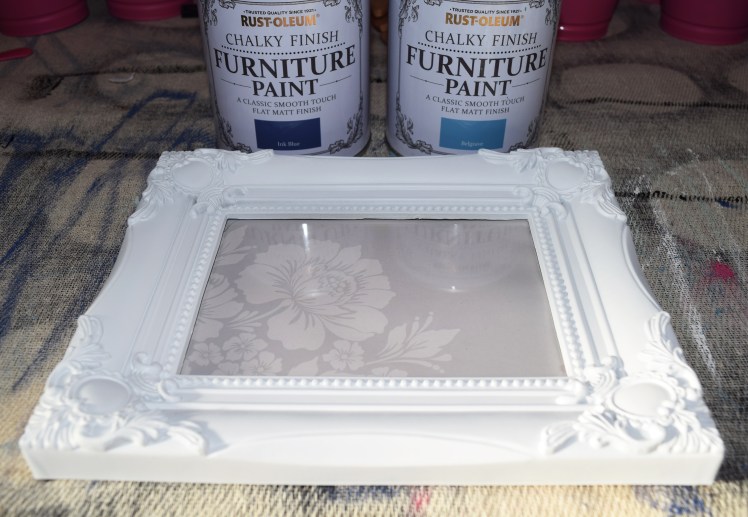
Step 1. Preparation If your piece is old then make sure you give it a good clean with sugar soap to get rid of any grease, dirt and dust. If you skip this part then the paint will only stick to the dust and dirt and will flake off really quickly.
 Step 2. Paint the base layer in the colour of your choice getting into all the nook and crannies. I used Rust-Oleum Chalky Finish furniture paint in Ink Blue.

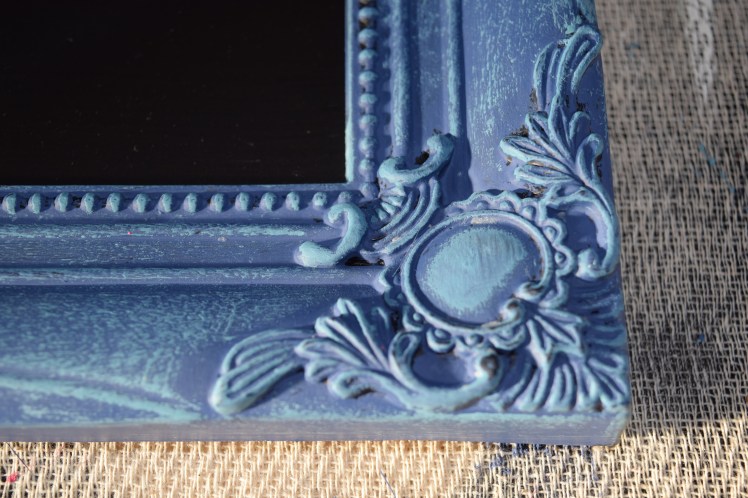 Step 3. Once dry dip your brush in the second colour and scrape as much of it off as you can, you need an almost dry brush for this really. Brush over the detailed parts really lightly and across the edges where it would naturally get distressed. You want to just skim the surface and get a light dusting to get the effect. I used Rust-Oleum Chalky Finish furniture paint in Belgrave for my top coat.
 Step 4. Once dry give your piece a coat of clear wax. Depending on the colours you choose dark wax may also work to give an added aged effect.
Experiment with colours and have fun with this, try metallic top coats and completely contrasting colours. If you don’t like it, then just paint it again!


Disclaimer: I haven’t been paid to write this post but the paint was kindly given to me by Rust-Oleum Paints

Love this…guess where the rest of my annie sloan paint ended up? splattered on the garage floor when it tipped over (and lid not on properly!!) Need to get back to my upcycling!!