It’s taken a while but I’ve finally written this how-to guide to marbling with nail varnish. The main thing about a how-to is a few tips on how-not-to as well, so this is a #styledvsreality guide on the things that can go wrong too!
You can reuse old cups but it’s ok to buy cheap plain ones and restyle them using old nail varnish. By adding some design value to new things you’ll look after it for longer saving it from landfill.
What you’ll need
Cup
Nail varnish (not quick drying)
Warm water
Skewer or cocktail stick
Deep tray or dish. I used a foil pie tray but you could use an old ice cream tub, it needs to be large enough to swirl the cup in.

The simple version
Pour drop of nail varnish into a dish of warm water, swirl with a cocktail stick and dip your cup. Leaving you with a beautiful marble pattern on your cup. Bish bash bosh.

The reality of marbling with nail varnish.
This isn’t designed to put you off trying this, it’s great fun and you can get some amazing results but it’s very much trial and error so hopefully these tips will help.
Step 1
A bit like a cooking recipe it’s important to get all of your ingredients ready as you need to work quickly so need it all to hand.
Step 2
Fill as deep as you can with warm water from the tap. If it’s too cold your nail varnish will dry too quickly forming a thick film on top.
Step 3
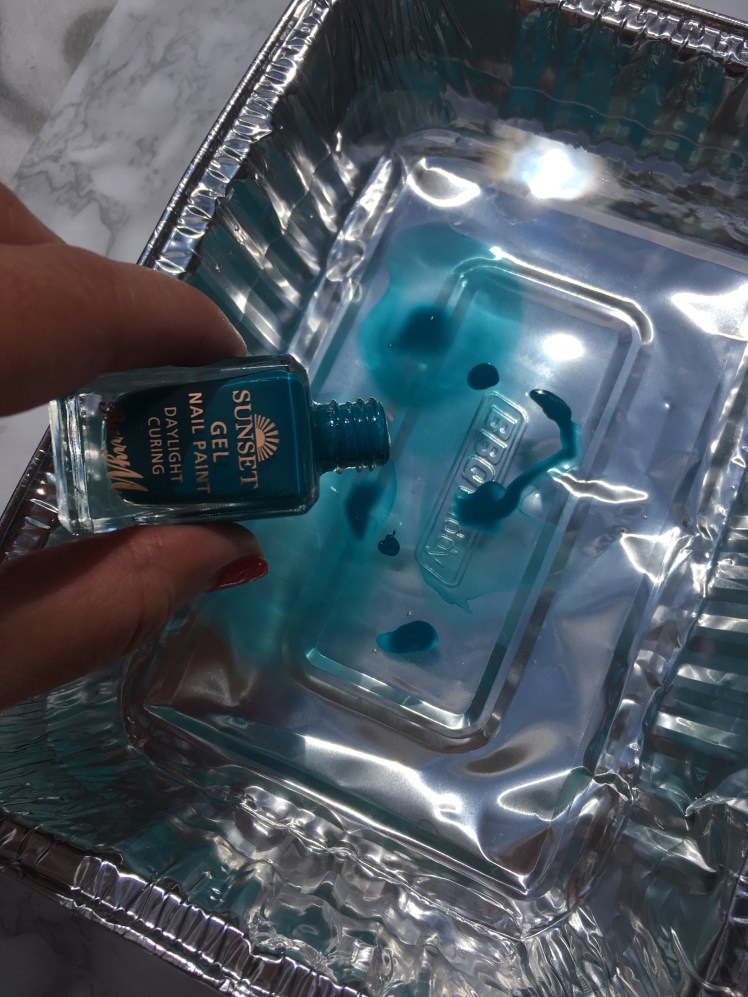
Pour 3-4 drops of your chosen colour onto the surface. Pour directly from the bottle, don’t use the brush. You need to pour quite close to the surface and then let the varnish spread on the top of the water. If you pour from a height it will drop to the bottom.
Step 4
Working fairly quickly add little swirls with the skewer. This is where it can get tricky. If you leave the varnish too long before swirling it can set on the top then all clump onto the skewer.
Don’t panic though, just scrap it to the side and start again with the water already there. The varnish won’t mix with the water so you don’t need to start all over. 
Step 5
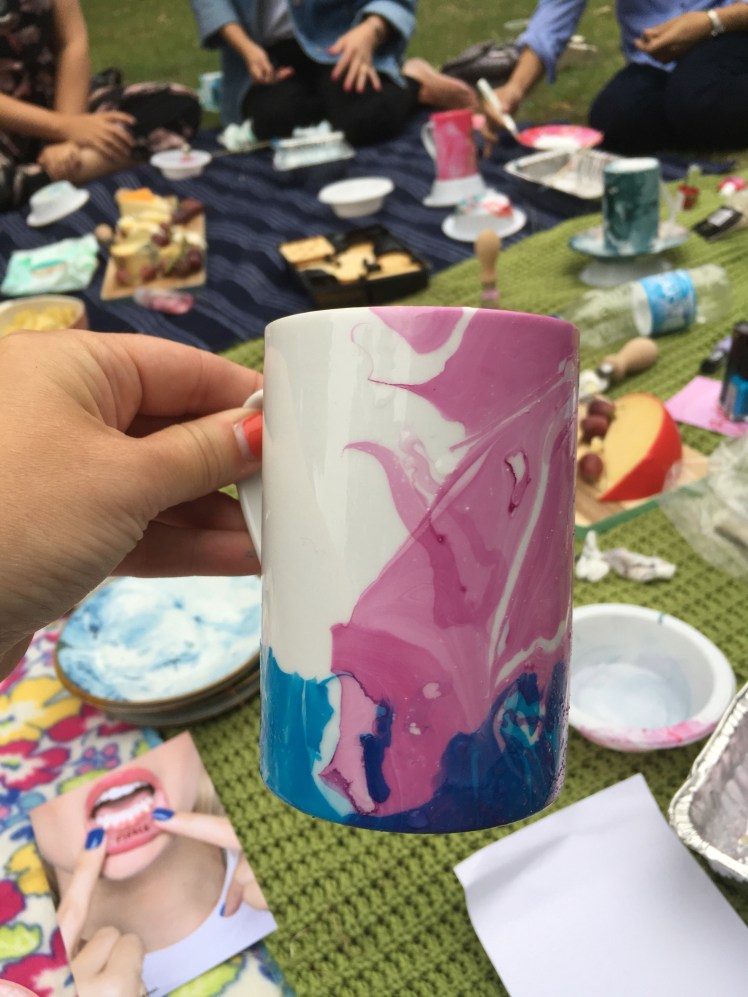
As soon as you’ve swirled, dip your cup into the dish and twist it to cover as much of the cup as you’d like. You may end up with perfection first time and wonder what I’m talking about, but if you don’t, this is what can go wrong. It’s all fixable though!!
1. Too much nail varnish can make it clump and look too thick. 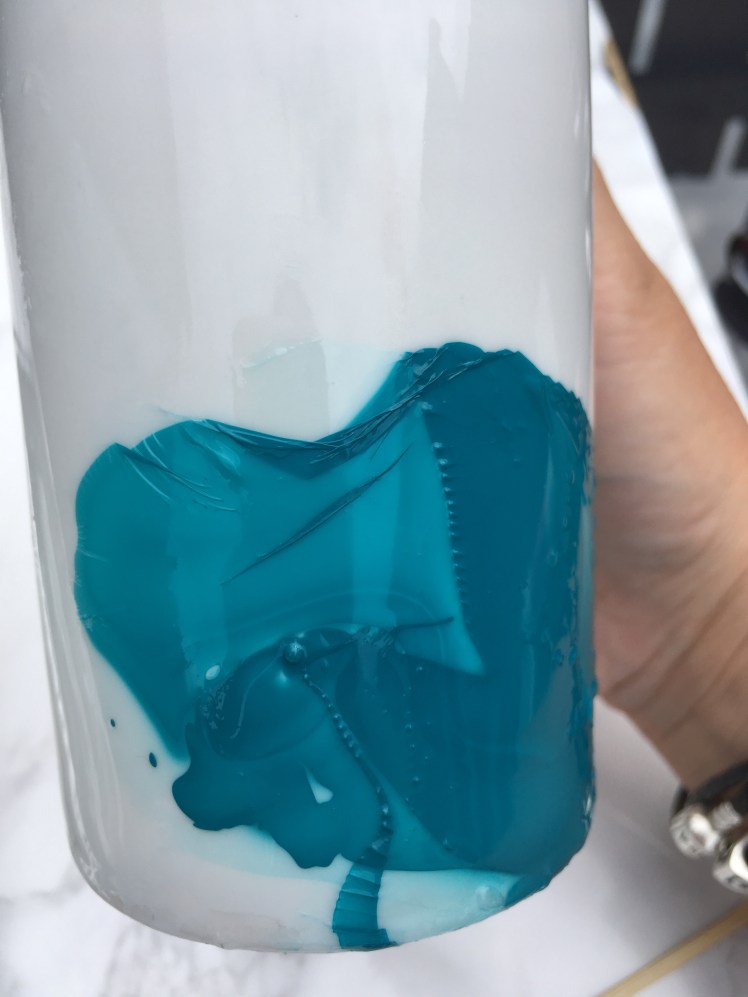 2. You can get random splodges.
 3. It can crease and wrinkle.
  4. It can bubble and look awful.
  5. It can just go a bit weird.
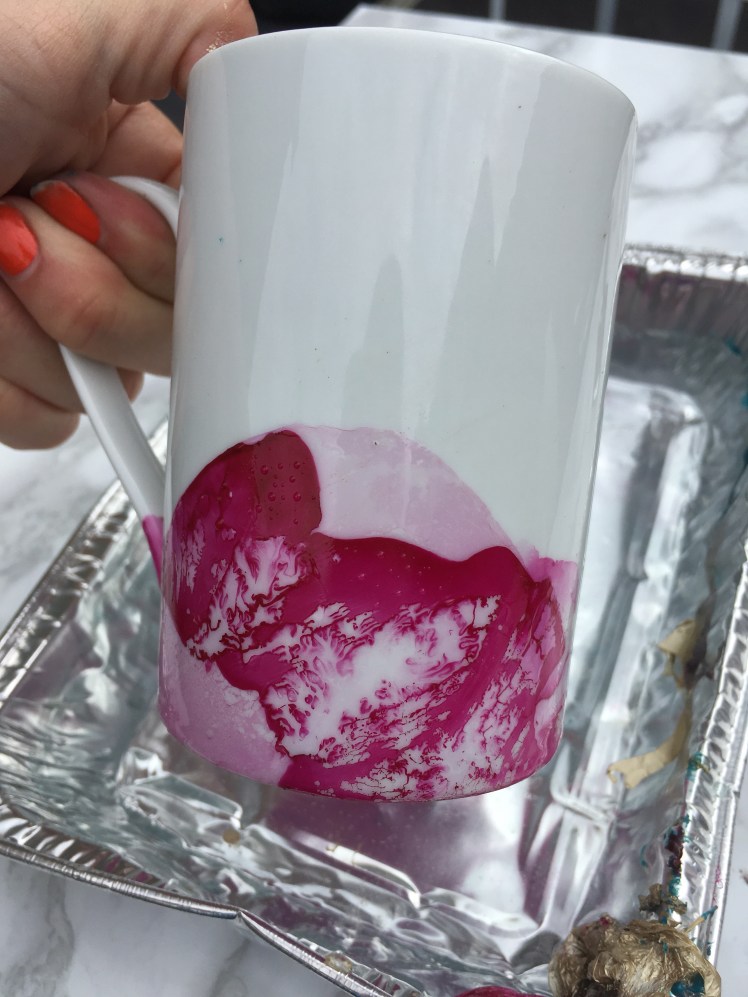 6. If you’ve tried different colours and not scraped away fully from the water they can mix. Sometimes this can be a nice happy accident though.
But don’t panic. Until you bake it in the oven it can all be removed with nail varnish remover. So you can practice until you’re happy really. I practiced a lot. 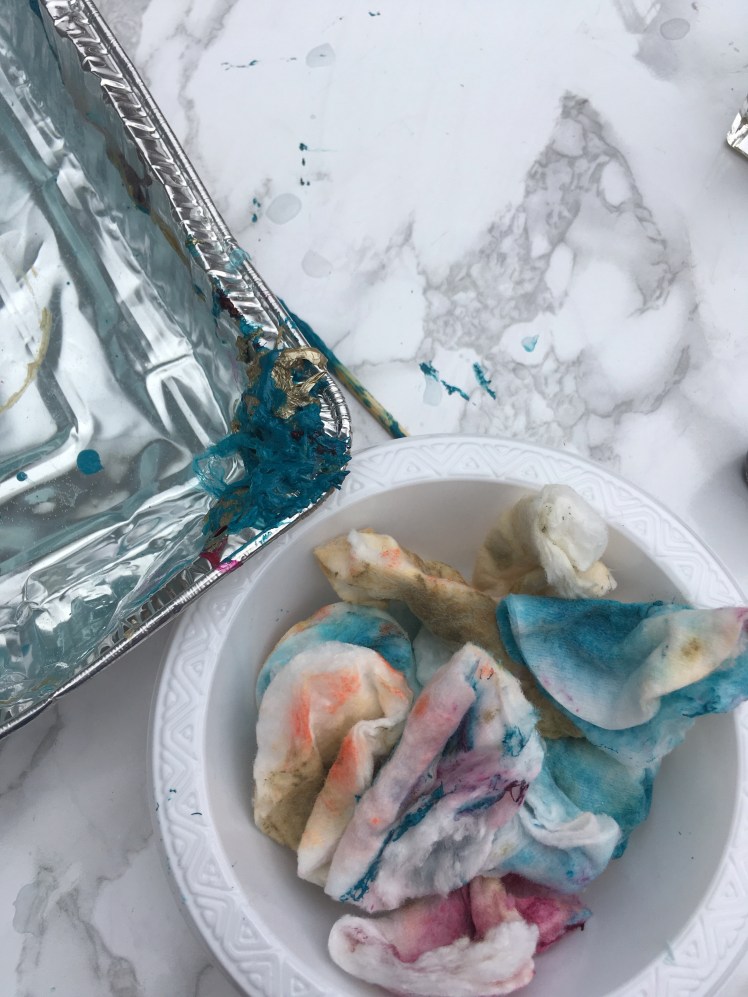
It dries really quickly and one final tip is to dab off any water bubbles with kitchen roll so they don’t dry as bubbles.
One fully dry you’ll be able to wash them by hand and use them, but to full set them you can bake in the oven.
Put them on a tray into a cold oven. Turn oven to 180c then leave for 30 mins. Turn the oven off and let them cool completely before taking them out.
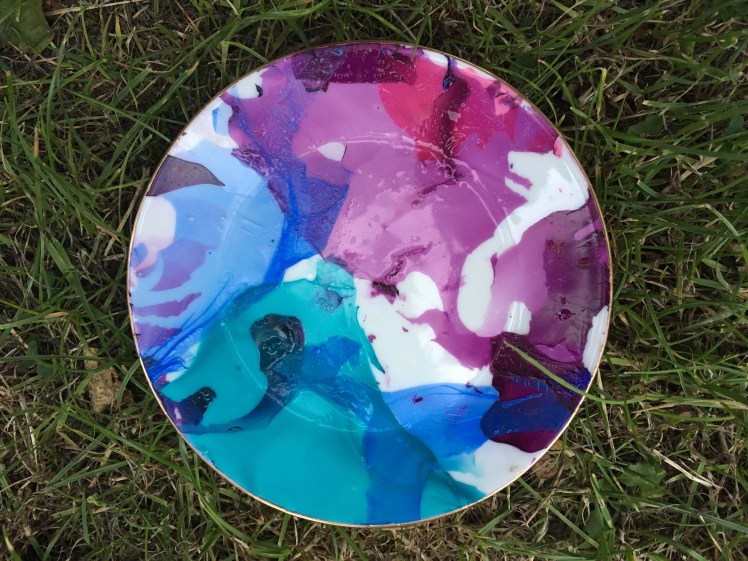
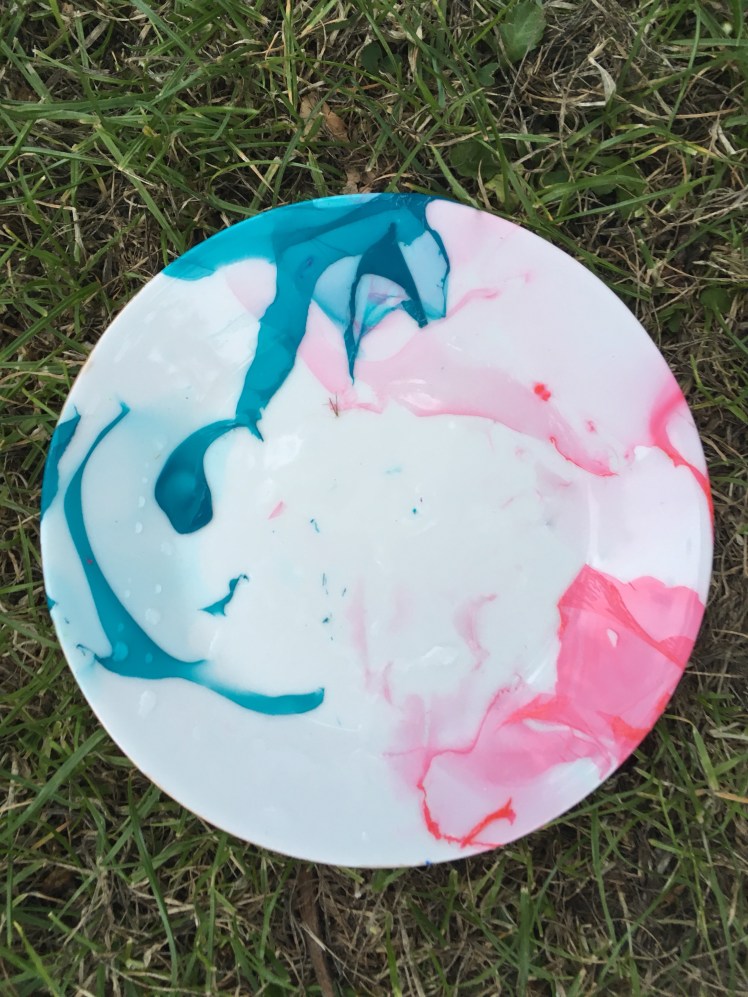
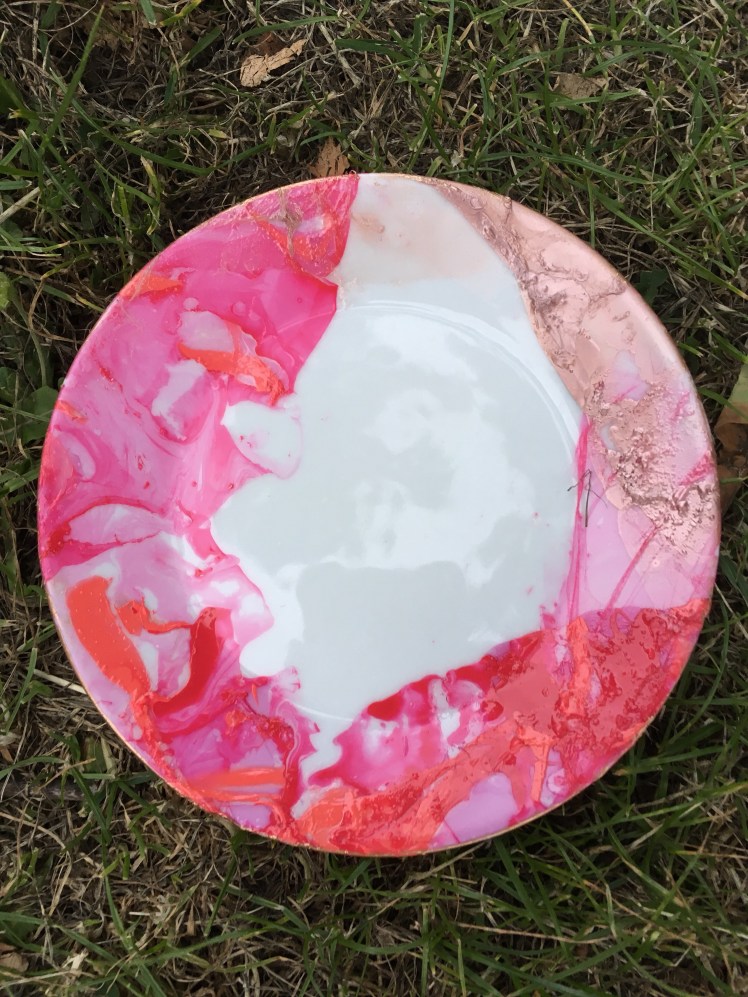
Most importantly, this is a craft to have fun with. Have a crafternoon with the kids, make some gifts for people. You can use the same technique on cups, plates, vases. You can use different colours, mask areas off, just get creative with it and have fun.
Here are some ideas from a recent workshop I ran with my local Ladies Wine & Design group.


Those came out so nice! Great instruction too!
Ah thank you!